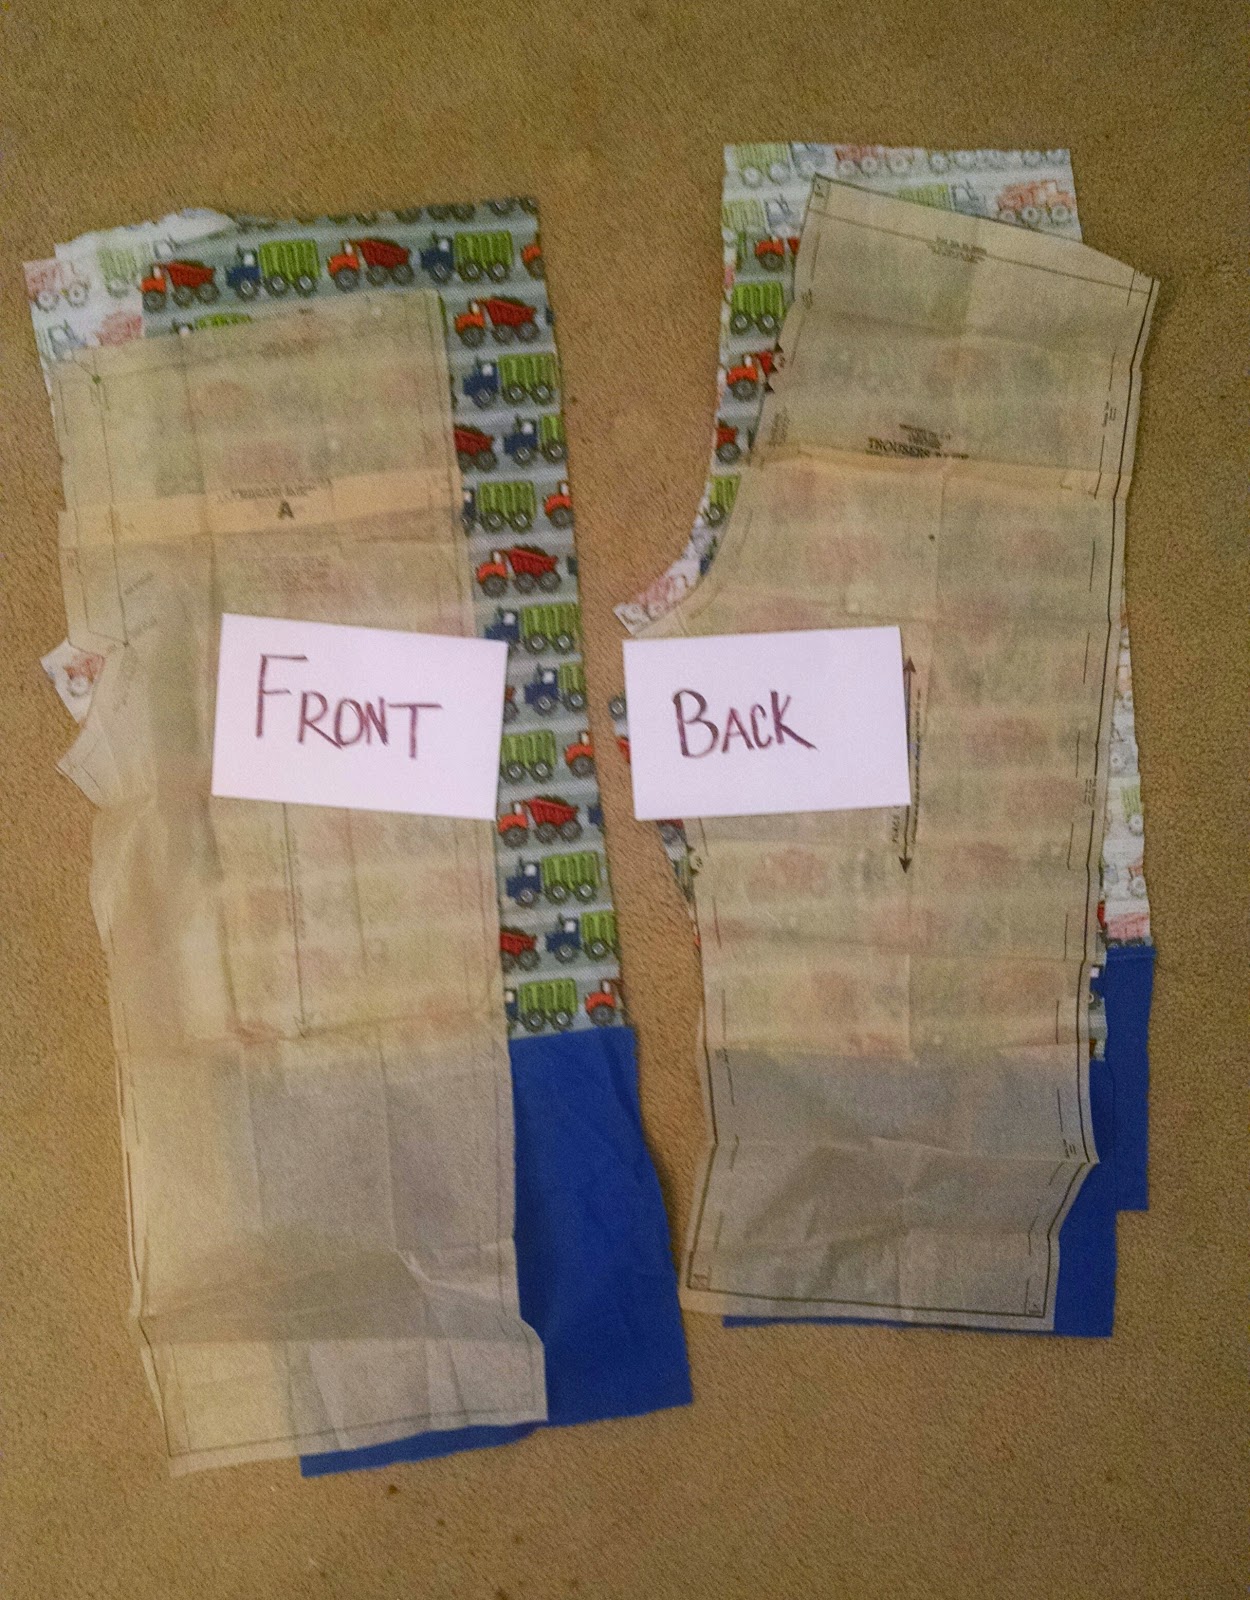
After you buy, prewash, dry, and iron your fabric, lay out and cut the pattern. there are 2 main pieces. front panel and Back panel. some also have pockets and/or waistband. this is just the 2 main pieces (and I added pocket)
you will be cutting 2 of each pieces, on folded fabric, so the 2 pieces face opposite directions. hre are my pieces:
now, take ONE of the FRONT pieces and ONE of the BACK pieces and lay them on top of each other with the outside of the fabric facing each other & the outer side seam edges togethee ..as pictured below:

SEW down that long edge.


if using a fabrics that frays easily, zig zag over the seam (or I often do a flat feld seam, but that's harder to explain..and this flannel doesnt really fray, so I did neither this time)
then open the newly joined front&back and iron the seam either open or all to one side.

here is the outide of your front/back attached pieces:

at this time, I added a pocket to the side on the seam:

now, that that leg section, fold (right sides together) so the inside seams are lined up:

sew the inseam. Do all of this with the remaining FRONT and BACK, so you now have 2 pant legs. Turn one right side out (leave the other inside out) slide the Right Side Out leg into the Inside out leg, matching seams:
here is one leg being put into the 2nd leg:

and here is what they look like when all the way inside and lined up:

you now will sew that curved seam- its the center seam (and crotch)

reinforce the crotch area (I just sew a zigzag close to the main seam)

now, pull one leg out of the other:

and you are now almost done.......

iron all the seams so they fold over the same direction (to make inserting elastic easier). and iron down about 1/4-1/2: fold:

t
now, fold this over to make a band large enough for inserting elastic. stitch close to edge, but keep 2 inches not stitched (like between my fingers in the below picture)

I have to get more elastic. I will finish this tutorial with pics when I do... but here is what you do next:
cut the elastic large enough to go around your waist, add an inch. use a safety pin attached to one end to feed through the waistband casing. pull the 2 ends out that 2 inch gap you left unstitched (make sure it is not twisted), overlap the ends and stitch together (I pin them together first, try it on, then adjust as needed)
sew that gap closed along the edge(to match the rest of the stitching), them hem the ankles as desired.
No comments:
Post a Comment